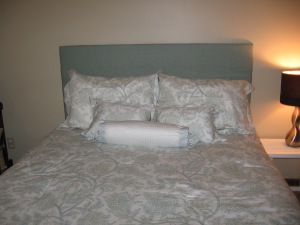
So last night we upholstered a headboard for our guest room! Took less than 30 minutes! The most intensive part was shopping for the materials, finding the right fabric and the right size batting and plywood. We were fortunate that my father in law had a piece of plywood in the exact dimensions we wanted! We do not have a vehicle big enough for bringing a 60” wide piece of wood home so we were grateful for his help! There are many ways to do this project, some use foam to make a thicker headboard, I couldn’t find foam in the right size so I settled for one layer of batting only. You can use plywood, mdf, or just a square frame if you want it to be more lightweight. You can put legs on it, attach it to your bed, or hang it on the wall. Ours was the right height so that we could just set it behind the bed and push the frame up against it to hold it in place. As long as nobody gets jiggy on our guest bed I think it will be fine 😉
Project materials & budget breakdown:
60” x 48” plywood: free
2 yards of upholstery fabric: $35 (I splurged a bit, although it was on sale at Hobby Lobby)
queen size quilt batting, extra thick: $15
staple gun & staples: $20
TOTAL COST: $70
and I will use that staple gun again and again, love it!!
Directions:
1. Assemble your materials, cut plywood or mdf to the desired size.
2. Lay batting on the floor, set wood on top (warning, pugs find quilt batting QUITE delicious)
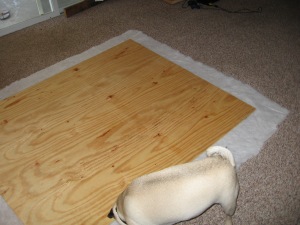
3. Fold batting over and staple into place. (at this point you should probably put your pug outside)
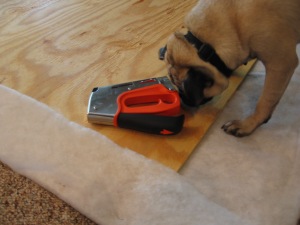
4. Take extra care at the corners to fold everything over so you get squared edges
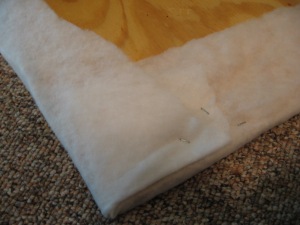
5. Take a break and admire your handiwork thus far
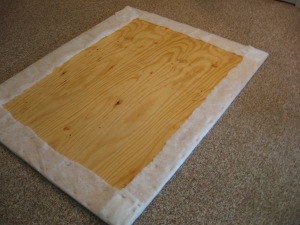
6. (no pics of this step, sorry). Iron your fabric, don’t be lazy like me and just throw it in the dryer to release the wrinkles, that doesn’t really work.
7. (again no pictures, Tyler and I were both busy during this step). Lay the fabric on the floor, set plywood on top, and staple the fabric just like you did the batting
8. Install headboard via your chosen method (hanging on wall, setting on legs, attaching to bed, wedging between wall and bed, etc). Then step back and admire your handiwork. Congrats, you just DIY’d a headboard!
