Cora’s Nursery

I started this post before the baby arrived but lost steam and then she arrived and well, we’ve been busy 😉  I didn’t really pick a theme for the room other than colors.  I knew I wanted light pink walls, to incorporate some gold and teal, and make sure the grey glider from our first nursery didn’t seem out of place.  The colors in the curtains ending up being my jumping off point. The room is a bit smaller than Gretchen’s room, and the closet is about a foot smaller.  We again chose to take the doors off the closet, paint it, install new shelving, and use it as our changing area.

Our photographer Darbi G captured some beautiful images of the space that more accurately capture the colors in the room, so I will share those first, followed by my own iphone 5 pictures, which are not as impressive!

webdarbig-cora-nb-127webdarbig-cora-nb-123webdarbig-cora-nb-118webdarbig-cora-nb-114

img_0011img_0019

img_0045

img_0061

img_0038img_0039img_0052

Bedding: sheets from Target, crib skirt from Buy Buy Baby

Wall art: prints and wooden hello art from Hobby Lobby (elephant, hello, alphabet , string art from Kim’s Heart Strings (she is local to KC to I messaged her directly on Facebook and picked up my order to avoid shipping charges.)

Crib: Jenny Lind Liberty 3 in 1 from Franklin and Ben

Chair: Best Chairs Quinn

Ottomon: Oh Joy for Target

Lamp: Target

Light fixture: Overstock

Storage Cubes: Target (gold dot no longer available)

Throw pillow: Target

Storage bins: Target (striped and woven)

Bookcase: IKEA Kallax

Curtains: Target 

Fabric banner: DIY’d (tons of tutorials on Pinterest) and bought the fabric at Hobby Lobby.

Pug loaves: Etsy shop Cornstarch

Paint color: Behr youth blush (I do not recommend their paint anymore, the formula was changed and the paint and primer in 1 no longer covers well.  We did 2 coats but really should have done 3, whereas their paint and primer plus formula used to cover in 1 coat.)
 

40 hours

I realized my camera was in my purse the other day so I snapped some photos of my office.  I wish I had a before picture of this space…pink walls + hunter green carpet = 1988 threw up in my work space.  I spruced it up last fall and now it is a much more pleasant place to be.  I need to hang some photos on the back wall and get another lamp since I refuse to work under the fluorescent lighting.

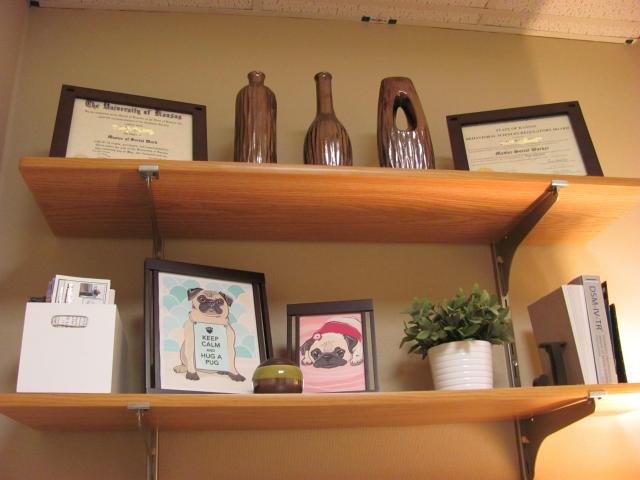
when I acquired the office there were 4 of these shelves in an L shape in the corner.  I had the ones above my desk removed and it made the room feel much bigger.  I left these 2 up so I could display some things.

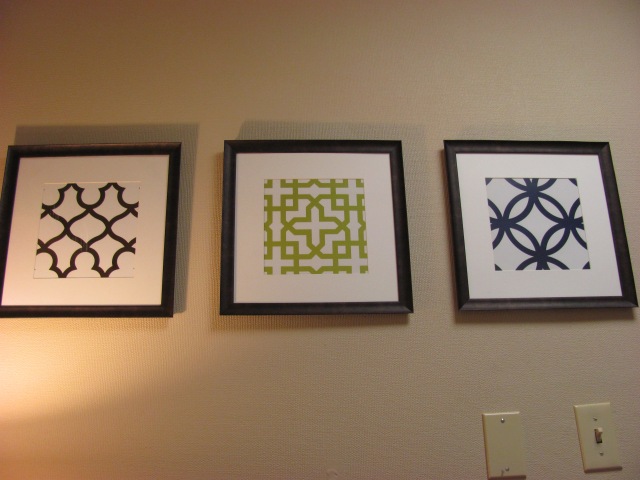
my inexpensive art

the very important source of non-headache inducing light, a lamp from walmart.  Also loving this fun little calendar I bought on etsy.

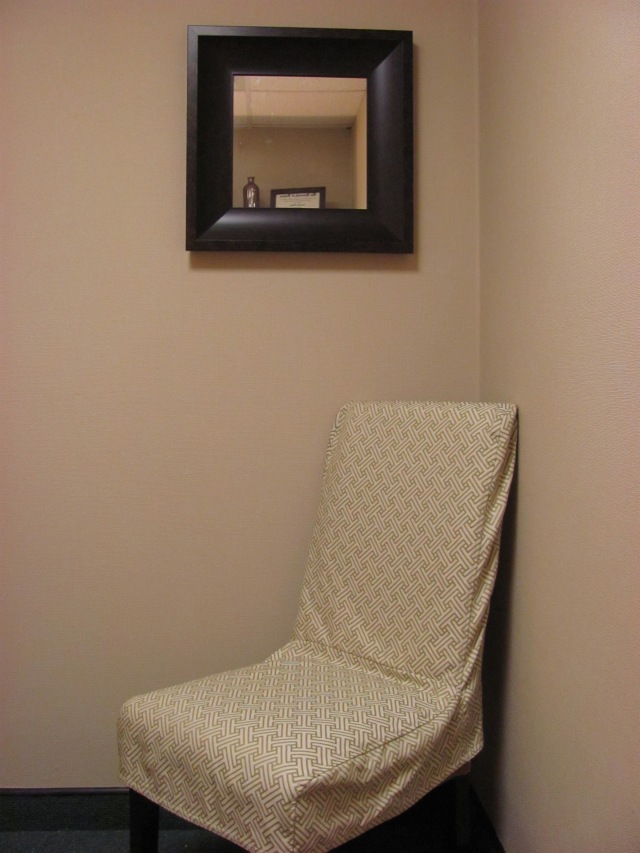
and my chair, that is looking kind of sad now that I brought the pillow home to use on my bed.  Will have to replace it soon.  Mirror is from World Market, as is the slipcover.  I scored the chair on clearance at Homegoods.

so there you go, my tiny office that fits me plus about 1.5 other people 🙂

change it up

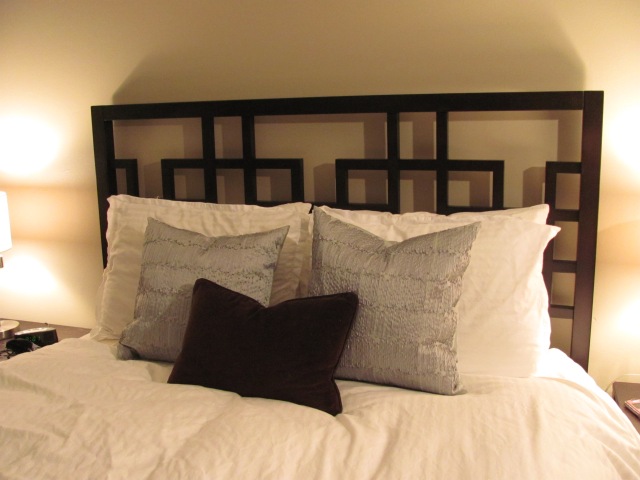
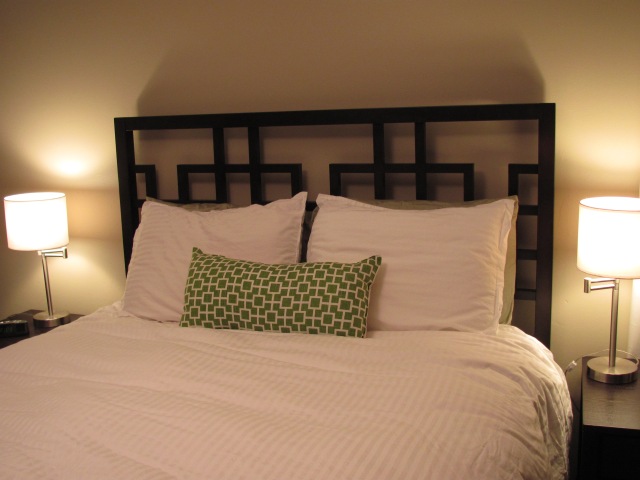
So happy to see our bedroom coming together.  Just 2 walls left to paint and I’ll post some pictures of the whole room.  I am having fun with all the options buying a white duvet cover has opened up (bought on sale at Target for $40 a couple of weeks ago).  I’ve been collecting various throw pillows for awhile now but didn’t really know where to use them.  Still, I couldn’t pass up a good deal on a great throw pillow.  So here are some of the different options I have now, I can change my pillows out with the seasons or my mood 😉

spring?

summer?

fall?

Guest Bathroom Plans: phase 2

We’ve made quite a few improvements to our guest bathroom since we moved in.  Here’s what it looked like back in March:

after painting and updating the fixtures here is what it looks like today:

Yet the gold flecked counters and retro shell sink remain.  Our goal for 2010 is to update all three of our bathrooms for under $1000 total, and I think we can do it.  Probably the biggest splurge will be on a new counter/sink for this bathroom.  We’d like to get corian/solid surface.  Since granite shows water stains so easily we’d rather not put it in the bathroom even though we could likely get it cheaper than solid surface.  The vanity is sturdy and I plan to paint it white, along with the trim.  The peel and stick tile in there is in great shape, so I don’t think we will put real tile down, especially since the floor is noticeably slanted in there.  I can just imagine what a headache it would be to make the tile level, ugh.  So here is the mood board I started when we first bought the house, I’ve added to it to reflect the changes we have planned for next year!  Which counter color do you think would look best?

guest bath

from top left: wall color is restoration hardware’s silver sage, matched into Behr paint.  Silver framed mirror was a steal from Homegoods.  Shower curtain and curved brushed nickel rod from Target, as well as the towels.  Bath rugs from Homegoods.  Approximate color of the existing peel and stick tile.  A print I’d really like to hang in there but Tyler is not in agreement.  Faucet design I like.  A few counter options.  What our vanity should look like once I paint it and replace the hardware.

DIY upholstered headboard

009

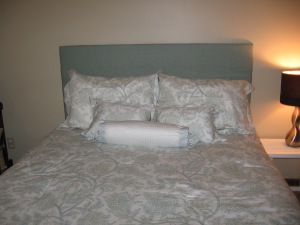
So last night we upholstered a headboard for our guest room!  Took less than 30 minutes!  The most intensive part was shopping for the materials, finding the right fabric and the right size batting and plywood.  We were fortunate that my father in law had a piece of plywood in the exact dimensions we wanted!  We do not have a vehicle big enough for bringing a 60” wide piece of wood home so we were grateful for his help!  There are many ways to do this project, some use foam to make a thicker headboard, I couldn’t find foam in the right size so I settled for one layer of batting only.  You can use plywood, mdf, or just a square frame if you want it to be more lightweight.  You can put legs on it, attach it to your bed, or hang it on the wall.  Ours was the right height so that we could just set it behind the bed and push the frame up against it to hold it in place.  As long as nobody gets jiggy on our guest bed I think it will be fine 😉

Project materials & budget breakdown:

60” x 48” plywood: free
2 yards of upholstery fabric: $35 (I splurged a bit, although it was on sale at Hobby Lobby)
queen size quilt batting, extra thick: $15
staple gun & staples: $20

TOTAL COST: $70

and I will use that staple gun again and again, love it!!

Directions:

1. Assemble your materials, cut plywood or mdf to the desired size.

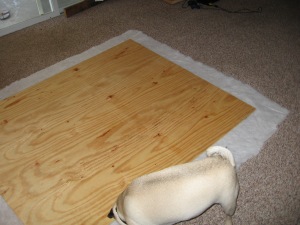
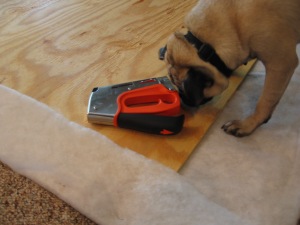
2.  Lay batting on the floor, set wood on top (warning, pugs find quilt batting QUITE delicious)

015

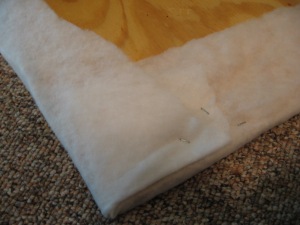
3.  Fold batting over and staple into place.  (at this point you should probably put your pug outside)

017

4.  Take extra care at the corners to fold everything over so you get squared edges

020

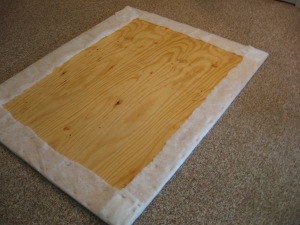
5.  Take a break and admire your handiwork thus far

022

6.  (no pics of this step, sorry).  Iron your fabric, don’t be lazy like me and just throw it in the dryer to release the wrinkles, that doesn’t really work.

7.  (again no pictures, Tyler and I were both busy during this step).  Lay the fabric on the floor, set plywood on top, and staple the fabric just like you did the batting

8.  Install headboard via your chosen method (hanging on wall, setting on legs, attaching to bed, wedging between wall and bed, etc).  Then step back and admire your handiwork.  Congrats, you just DIY’d a headboard!

035